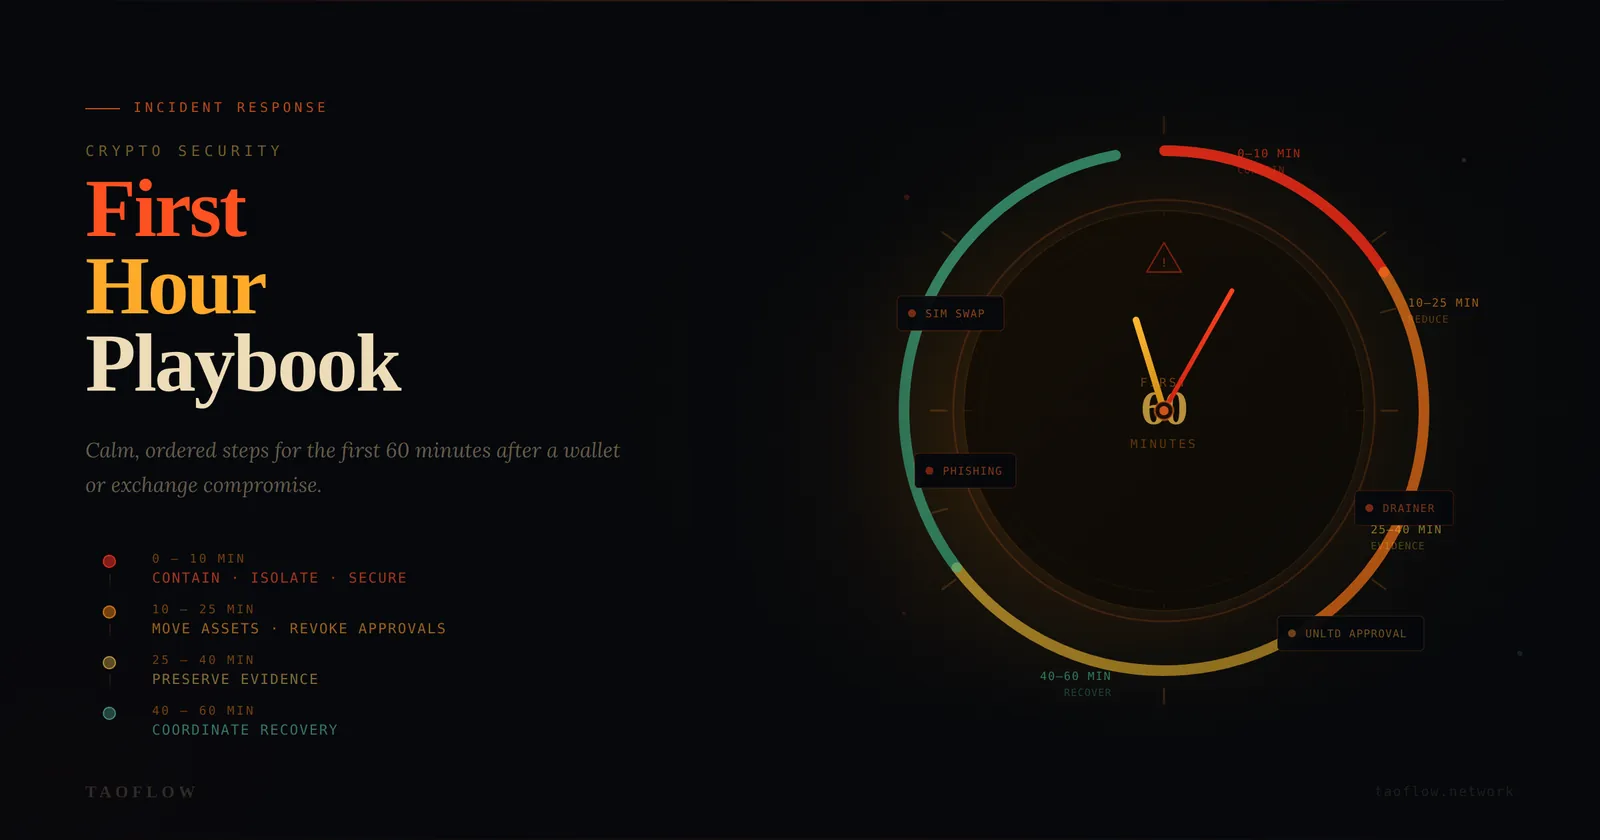
If your wallet or exchange account is compromised, speed matters—but random panic clicks usually make losses worse. A good response plan is not about being “technical enough.” It is about doing the right steps in the right order.
This playbook is designed for regular crypto users and small teams. It focuses on the first 60 minutes after you notice suspicious activity.
What counts as a crypto security incident?
Treat any of these as an incident:
- You signed a transaction you did not fully understand, and funds moved unexpectedly.
- You see approvals or transfers you did not initiate.
- Exchange login alerts appear from unknown devices or locations.
- Your SIM stops working unexpectedly (possible SIM-swap).
- Your email, password manager, or authenticator access looks abnormal.
- A teammate reports “urgent wallet migration” from an unverified account.
If you are unsure, assume compromise and start containment.
Minute 0–10: Contain first, investigate second
Your immediate goal is to stop further damage.
-
Isolate the active device
- Turn on airplane mode or disconnect network.
- Do not keep browsing the suspicious site.
- Do not keep signing “revoke” transactions from the same possibly infected session.
-
Move to a known-clean device
- Prefer a secondary phone/laptop you trust.
- If unavailable, use a freshly booted environment with minimal apps.
-
Protect core identities immediately
- Change primary email password.
- Rotate exchange passwords.
- Revoke suspicious sessions in email and exchange account settings.
- Reset 2FA where possible (use authenticator app, not SMS).
-
Pause team operations (if shared treasury or DAO ops)
- Announce a temporary freeze in your internal channel.
- Require multi-person confirmation for any outgoing transaction.
Do not chase every detail yet. Containment first.
Minute 10–25: Stop wallet-side bleeding
Now focus on on-chain risk reduction.
-
Create or prepare a clean destination wallet
- New seed phrase on a trusted hardware wallet if available.
- Never reuse old seed phrases.
-
Prioritize asset movement by risk
- Highest value liquid tokens first.
- Then stablecoins.
- Then NFTs and long-tail assets.
-
Handle approvals carefully
- Check token approvals and operator permissions.
- Revoke unlimited approvals from a clean environment.
- If active draining continues, transferring remaining assets first may be safer than revoking one by one.
-
Watch for cross-chain exposure
- Same compromised key can affect multiple networks.
- Review Ethereum, L2s, and any EVM chains you used.
-
Document every transaction hash
- Build a timeline while actions are fresh.
Minute 25–40: Preserve evidence like an investigator
Most users skip this step and regret it later.
Collect and store:
- Screenshots of suspicious prompts, URLs, and wallet popups.
- Browser history entries around the event window.
- Device/time/location metadata for suspicious logins.
- Transaction hashes and explorer links.
- Email alerts and exchange security notifications.
Why evidence matters:
- Exchange support escalations are faster with structured timelines.
- Law enforcement reports require concrete records.
- Post-incident analysis helps prevent repeat mistakes.
Use a simple evidence folder:
incident-summary.txttx-hashes.csvscreenshots/notifications/
Minute 40–60: Coordinate recovery
-
Notify counterparties and communities
- Warn teammates and close contacts that your account may be impersonated.
- Pin a short warning message in major channels.
-
Open support tickets with complete context Include:
- Incident start time (timezone included)
- Affected addresses/accounts
- Confirmed unauthorized actions
- Attached evidence and tx hashes
-
Rotate trust anchors
- Replace compromised wallet addresses in bios, docs, allowlists, bots, and payment pages.
- Regenerate API keys used for trading or automation.
-
Set a temporary high-friction mode (72 hours)
- No one-click approvals.
- No mobile-only signing for high-value transfers.
- Mandatory second-person verification for all outbound transactions.
Practical checklists
Personal wallet user checklist
- [ ] Disconnect affected device/network.
- [ ] Secure email + exchange accounts.
- [ ] Prepare new wallet on clean device.
- [ ] Move critical assets.
- [ ] Review/revoke risky approvals.
- [ ] Capture evidence.
- [ ] Warn contacts about impersonation risk.
Small team / treasury checklist
- [ ] Freeze non-essential transfers.
- [ ] Require 2-person verification.
- [ ] Validate signer devices.
- [ ] Snapshot balances across chains.
- [ ] Open one shared incident timeline doc.
- [ ] Publish internal comms policy until incident closes.
Common mistakes that increase losses
- Panic-signing transactions to “fix” a problem quickly.
- Using the same compromised browser session to recover funds.
- Ignoring email compromise while focusing only on wallet activity.
- No timeline documentation, causing support dead-ends later.
- Resuming normal operations too soon before root-cause checks.
A simple prevention upgrade after recovery
After incident stabilization, adopt a role-based wallet setup:
- Daily wallet (small balance, frequent use)
- Vault wallet (cold, rarely used)
- Interaction wallet (new dApps, low limits)
Add routine verification habits:
- Read signer prompts line by line.
- Confirm destination address on trusted screen.
- Treat urgent DMs as untrusted until verified out-of-band.
If you need network-level privacy while investigating suspicious sites, use a clean, isolated access path and keep it separate from your primary signing environment (TaoFlow is one option, but process discipline matters more than tooling).
A calm, structured first hour will not undo every loss—but it often prevents a bad incident from becoming a total compromise.