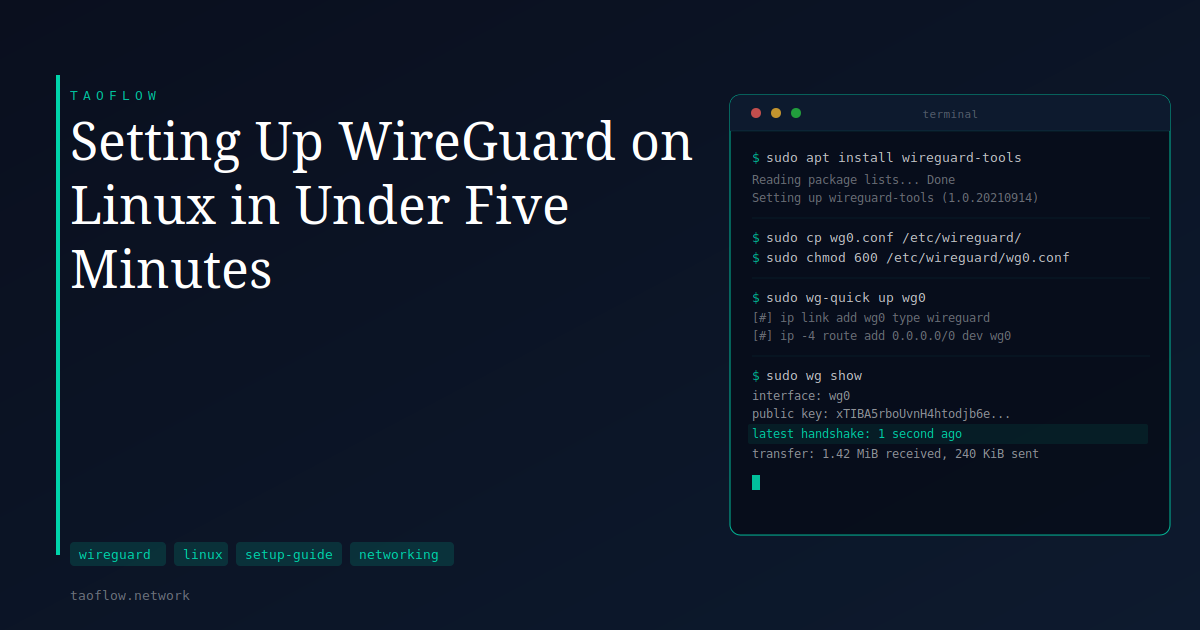
You have a WireGuard configuration file — a small text document ending in .conf — and you want to use it on your Linux machine. The process takes a handful of commands and about five minutes. Here is how to get from that file to a working encrypted tunnel.
The steps below work on any Linux system running kernel 5.6 or later, released in 2020. Most distributions in active use today meet that requirement without any extra setup.
What You Need Before You Start
- A WireGuard config file. Your VPN provider supplies this, or you generate one yourself when running your own server. It contains your private key, the server's public key, the server address and port, and the IP your device should use inside the tunnel.
- Root or sudo access on the machine.
- The
wireguard-toolspackage installed (covered in the next section).
Keep the config file private. Anyone who has it can authenticate to the VPN as you, because the private key is embedded in the file.
Installing the Tools
WireGuard has been part of the Linux kernel since version 5.6, so no kernel patching is needed. What you do need is the userspace tooling — wg and wg-quick — which ships as wireguard-tools in every major distribution's package manager:
- Debian / Ubuntu:
sudo apt install wireguard-tools - Fedora:
sudo dnf install wireguard-tools - Arch Linux:
sudo pacman -S wireguard-tools - openSUSE:
sudo zypper install wireguard-tools
After installation, run wg --version to confirm it worked. You should see a version string, not an error.
Placing Your Config File
Move the config to /etc/wireguard/ and lock down its permissions:
sudo cp ~/Downloads/wg0.conf /etc/wireguard/wg0.conf
sudo chmod 600 /etc/wireguard/wg0.conf
The filename — wg0 here — becomes the name of the network interface WireGuard creates. You can use any name you prefer. If you have configs for multiple servers, name them wg0.conf, wg1.conf, and so on.
The chmod 600 step restricts the file to the root account only. Because the file contains a private key, other users on the machine should not be able to read it.
Connecting, Checking, and Disconnecting
Bring the tunnel up:
sudo wg-quick up wg0
wg-quick reads the config, creates the wg0 network interface, loads your keys, and adds the routing rules that direct traffic through the VPN. On a standard full-tunnel config, all outbound internet traffic will flow through the server from this point.
Check that the connection is active:
sudo wg show
Look for the latest handshake line. A timestamp within the last two minutes means the tunnel is live. If there is no handshake, the config's endpoint address or port is likely wrong, or the server is not reachable.
To disconnect:
sudo wg-quick down wg0
Starting Automatically on Boot
If you want the VPN to come up every time the machine starts, enable the systemd service:
sudo systemctl enable --now wg-quick@wg0
The @wg0 suffix tells systemd which config to use — it maps to /etc/wireguard/wg0.conf. The --now flag also starts it immediately, so you do not need to reboot to test it.
To check its status: sudo systemctl status wg-quick@wg0. To disable auto-start: sudo systemctl disable wg-quick@wg0.
What This Means for You
Once the tunnel is running, your ISP sees encrypted WireGuard traffic going to the VPN server's address — not the destinations you visit or the contents of your requests. Sites you connect to see the server's IP address instead of yours.
A VPN does not eliminate all tracking, though. Cookies, browser fingerprints, and accounts you are logged into remain visible to the sites themselves. The protection is at the network layer, not the application layer.
A few things to keep in mind for day-to-day use:
- If the tunnel drops unexpectedly, traffic may briefly route outside the VPN until you reconnect. The systemd service above restarts on reboot, not on unexpected disconnects. If uninterrupted protection matters to you, look into whether your provider's config includes a kill-switch via
PostDownfirewall rules — some do. - Back up your config file. Store a copy somewhere secure. If you lose it, you may need to request a new one from your provider.
- Run only one tunnel at a time unless you have specifically configured non-overlapping routes.
WireGuard's encryption — Curve25519 for key exchange, ChaCha20-Poly1305 for the tunnel itself — runs inside the kernel, which keeps overhead low compared to userspace VPN implementations.
Getting connected is the easy part. Understanding which traffic the VPN does and does not protect — and building habits around that — is what makes it genuinely useful over time.